PlatformIO下DAPLink调试配置指南
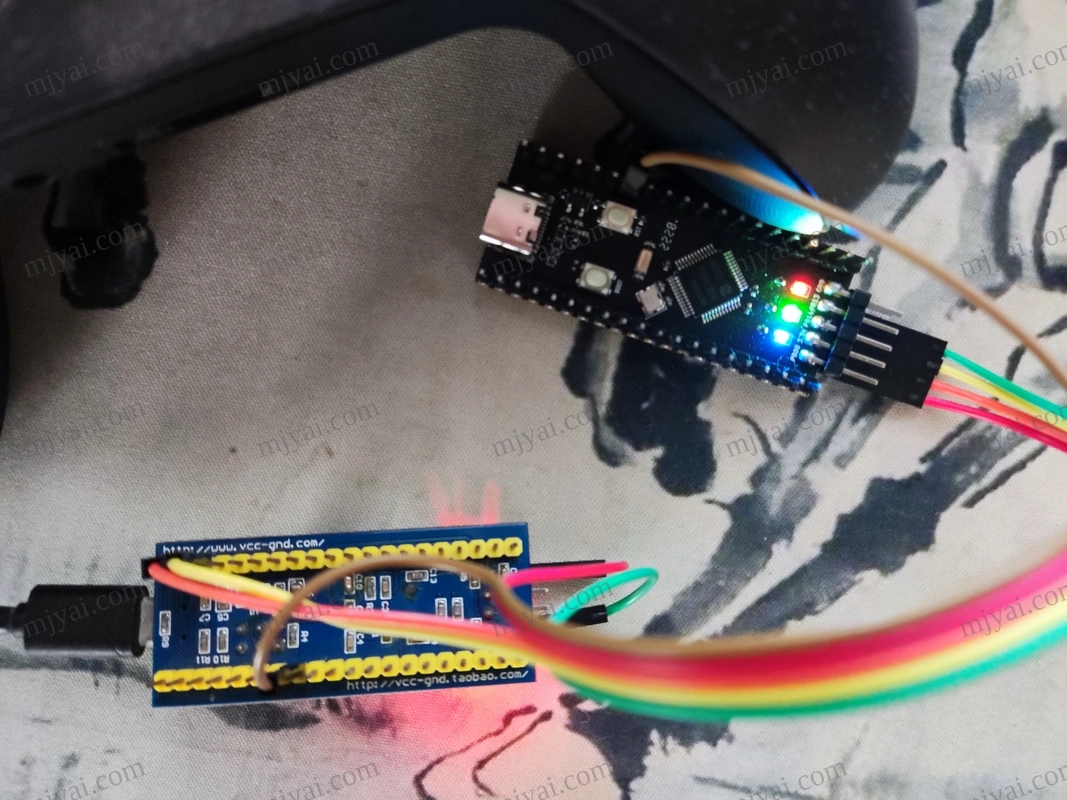
最近合宙搞了个兼容stm32的板子AIR32F103CBT6,拿来做廉价DAPLink调试器很合适。本文记录了PlatformIO下配置步骤,主要解决了Error: unable to open CMSIS-DAP device 0xd28:0x204的问题。
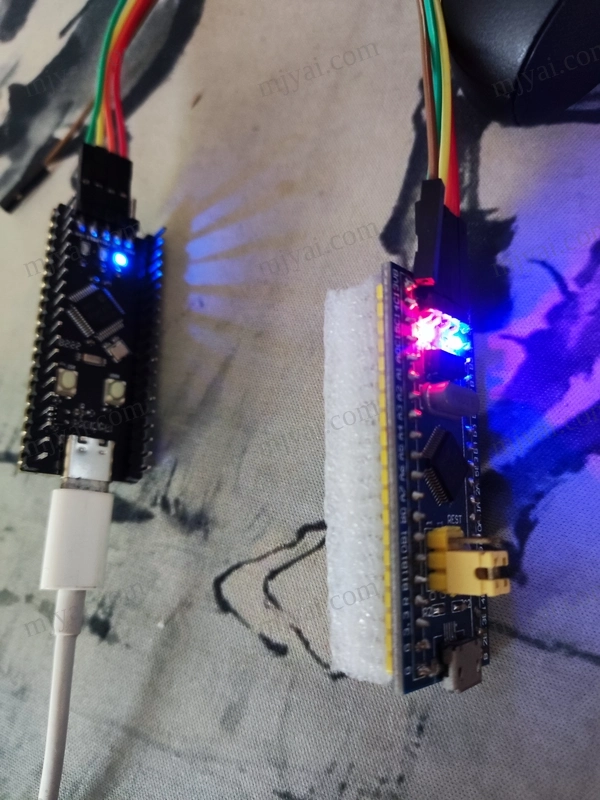
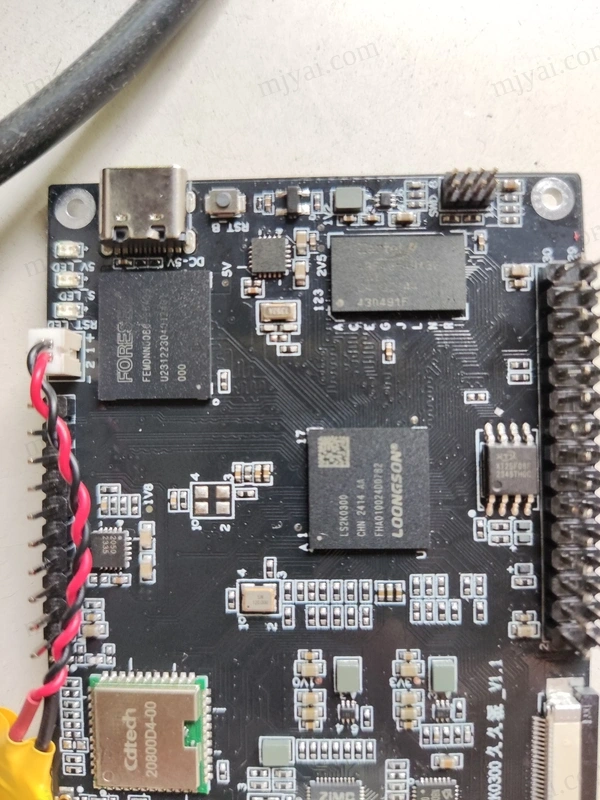
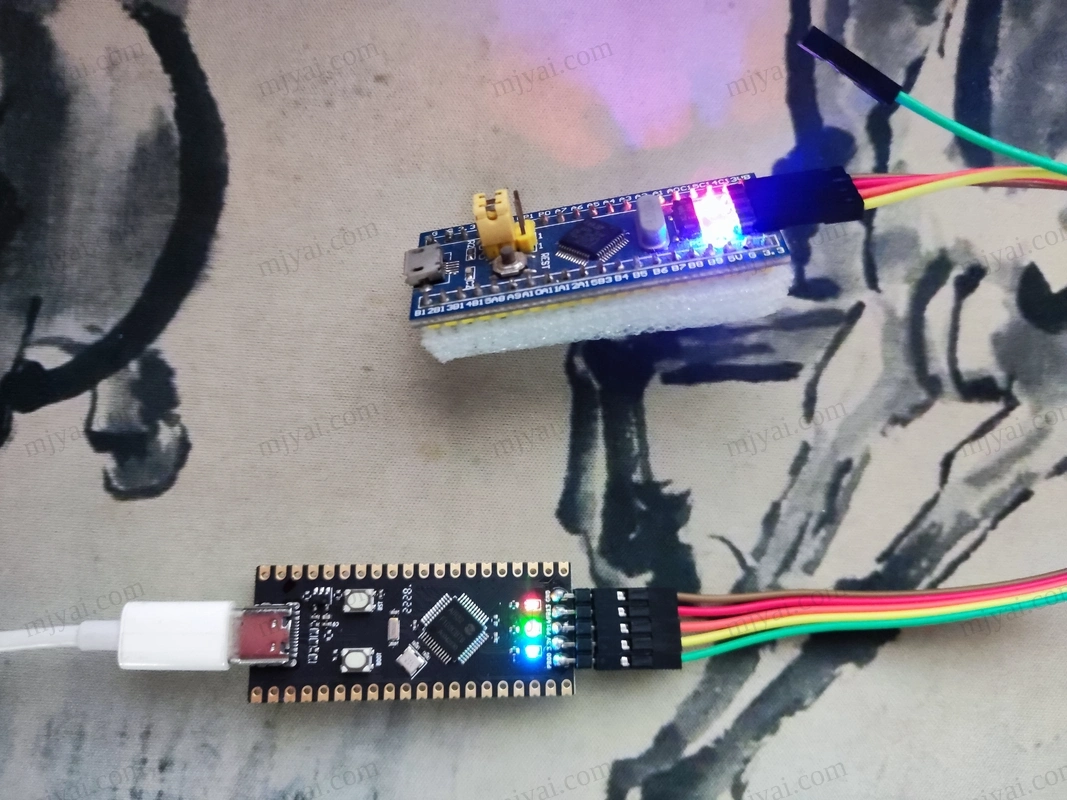
调试目标是一块吃灰的Bluepill(STM32F103CBT6)核心板。程序是库函数版的点灯程序cmsis-blink。
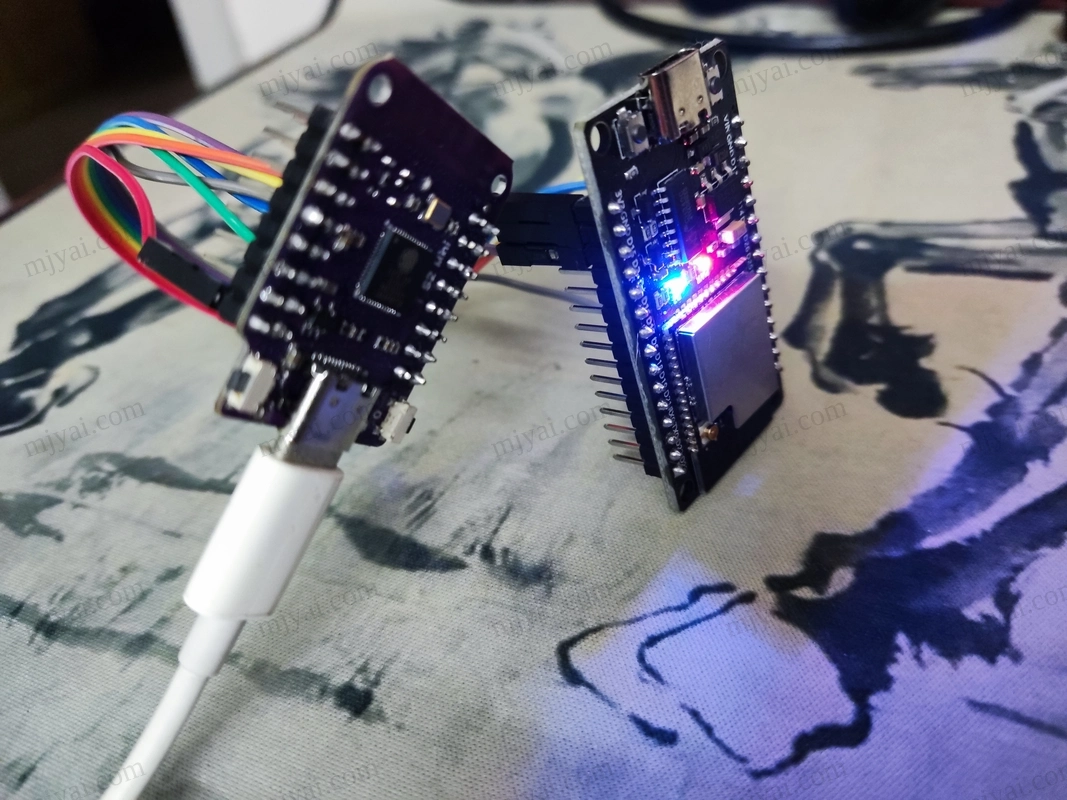
接线
| daplink | target |
|---|---|
| 3.3V | 3.3V |
| PB14 | SWD_DIO(PA13) |
| PB13 | SWD_CLK(PA14) |
| GND | GND |
接线很简单。其中连RST的PB0悬空,另外虚拟串口的PA2(TX)和PA3(RX)暂时也不用。
安装PlatformIO
Ubuntu下VS Code安装PlatformIO很简单。Win可以参考这篇。
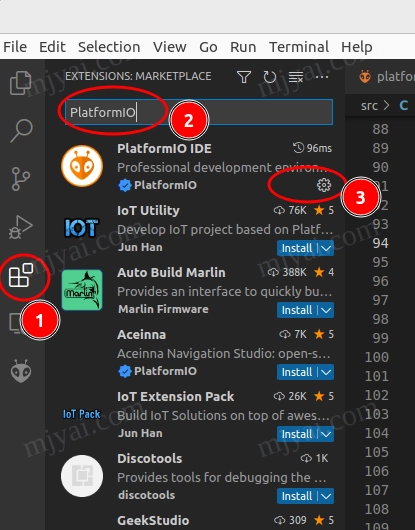
Extensions > PlatformIO,等待安装完成后重启IDE。
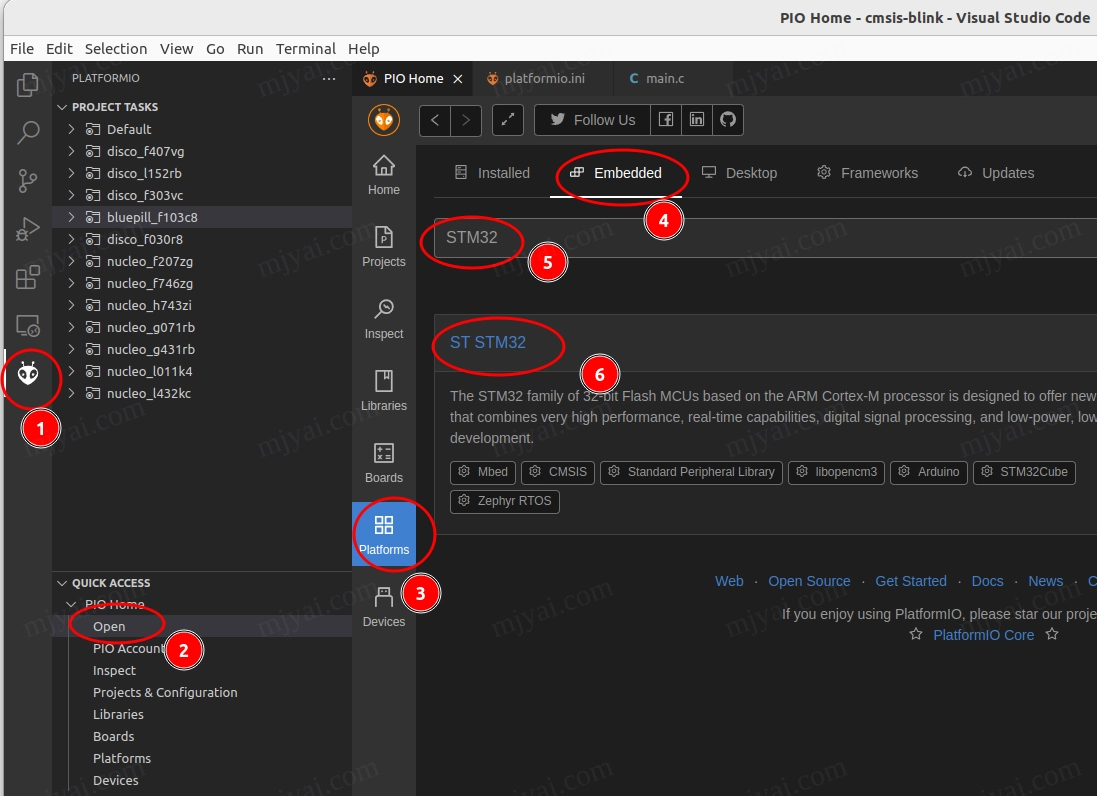
左边栏小蚂蚁 > Platforms > Embedded > ST STM32
注意!装完后需对权限进行配置:
1 | curl -fsSL https://raw.githubusercontent.com/platformio/platformio-core/master/scripts/99-platformio-udev.rules | sudo tee /etc/udev/rules.d/99-platformio-udev.rules |
顺便PR(已Merged)增加了对AIR32F103的支持,以后不用手动添加了。
重启服务。
1 | sudo udevadm control --reload-rules |
Ubuntu还需添加用户到相关组:
1 | sudo usermod -a -G dialout $USER |
建议重启一下系统。
配置OpenOCD
编辑~/.platformio/packages/tool-openocd/scripts/interface/cmsis-dap.cfg文件,内容如下:
1 | cmsis_dap_vid_pid 0x0d28 0x0204 |
注:如果用的DAPLink不是AIR32F103则需注释掉,若也不识别则改成该设备的vid和pid(通过lsusb查看)。
在~/.platformio/packages/tool-openocd/scripts/target处新建air32f1x.cfg文件,内容如下:
1 | # AIR32F1x |
载入项目
下载示例程序并解压缩。
VS Code下Ctrl+O打开文件夹,选择platform-ststm32-develop/examples/cmsis-blink/文件夹。
编辑platformio.ini,开头添加如下内容:
1 | [platformio] |
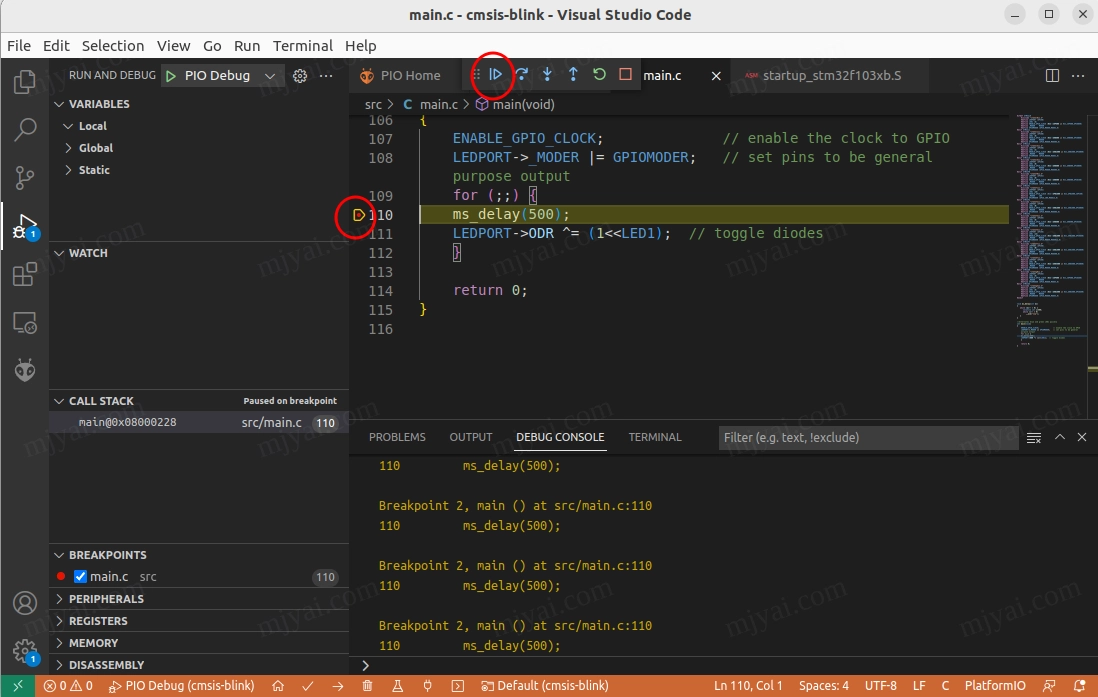
调试
打开src/main.c文件,在110行行号左边点一下添加断点。
按F5(Run > Start Debugging)进入调试界面。
反复按F5(顶栏的Continue),可见到板载LED明暗交替变化。调试器工作正常。